Crayon etching is a type of art-making that exploits the properties of water-based ink or paint and waxy crayons. The resist that happens between these two media allow the artist to create an interesting image that can be vibrant and rich with contrast and complexity.
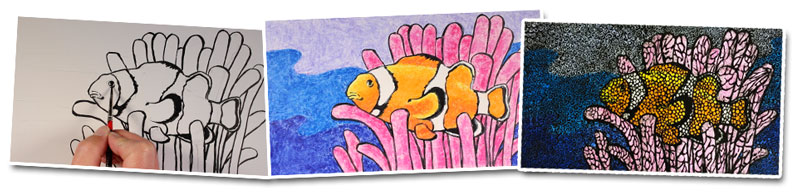
Crayon etchings are created by professional artists as well as beginning artists (Crayon Etching Lesson Plan). The process of creating a crayon etching allows the artist to be creative in color and pattern creation. It also can be used to create a scratchboard type surface with a monotone color. There are actually several ways a crayon etching can be created.
(Some of the following links are affiliate links which means we earn a small commission if you purchase at no additional cost to you.)

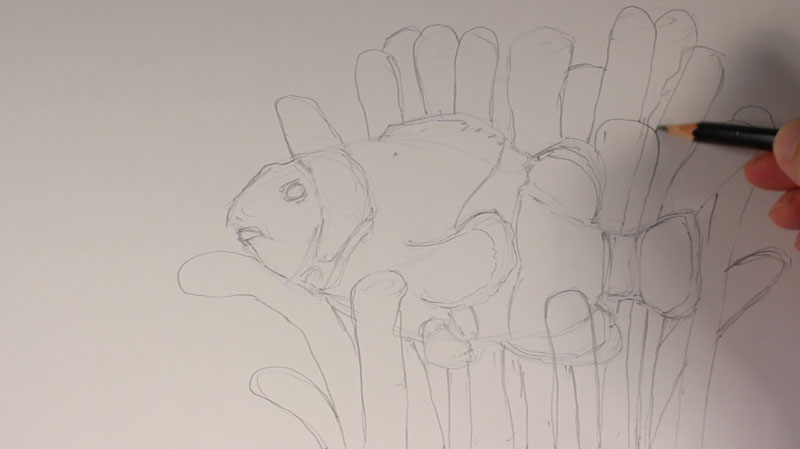
First, the artist creates a simple line drawing in graphite. It is important that the drawing be simple and void of any value. The complexity in crayon etching comes in the creation of patterns.
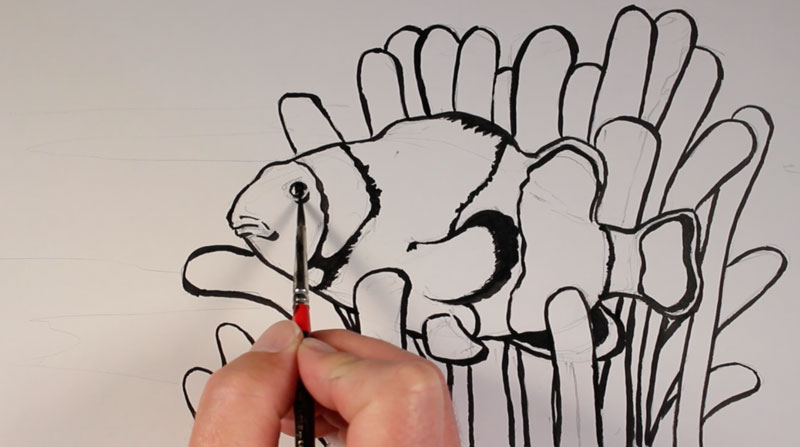
Next, the artist goes over the line drawing with a permanent black marker or brushed ink. The marker (or brushed marks) needs to have a relatively thick mark. This will aid in the process of scratching out the patterns. If an area is unscratchable, then the artist knows that this part is an outline and the pattern can be changed.
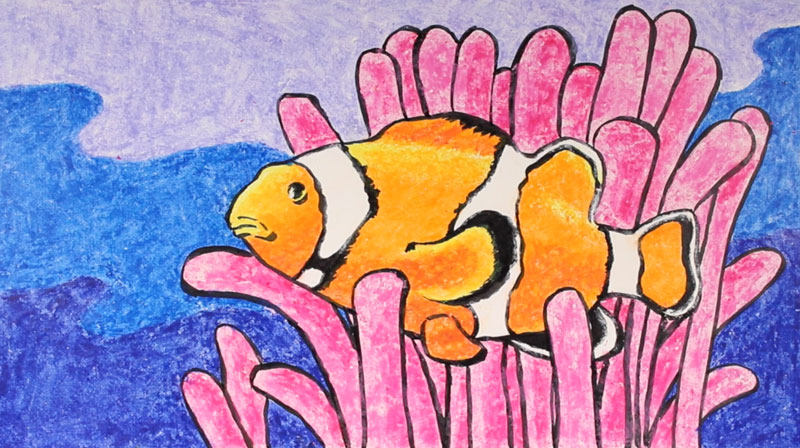
After the image is outlined, the artwork is colored completely with crayons. Since a large portion of the surface area will be covered with black, bright colors are recommended.
Be sure not to leave any areas of white, as these areas will accept the ink and prevent it from being scratched off. Heavy pressure should be placed on the crayons to get the most from the waxy binder. Also, use minimal amounts of black!!!
Next, ink is applied over the entire surface of the crayon etching. Use a foam or synthetic nylon brush to do this so that no brush marks are evident. (Bristle brushes will leave streaks.) Allow the surface to dry completely.
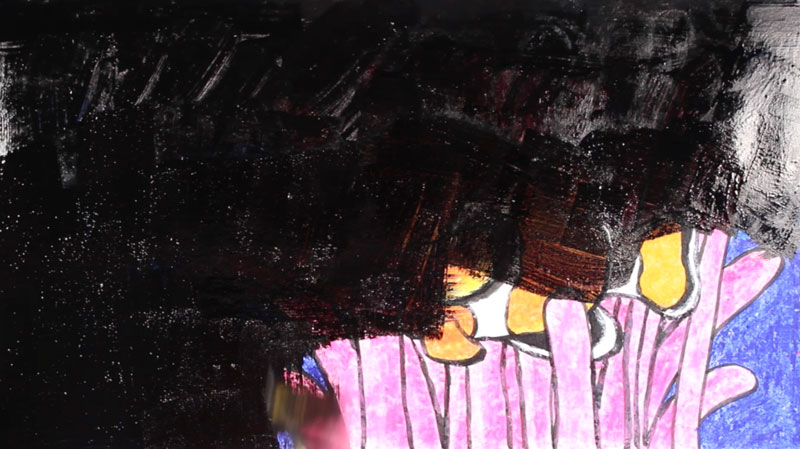
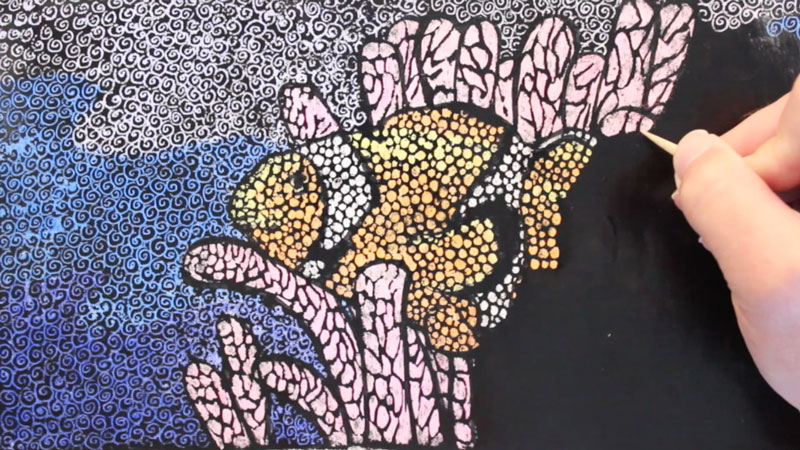
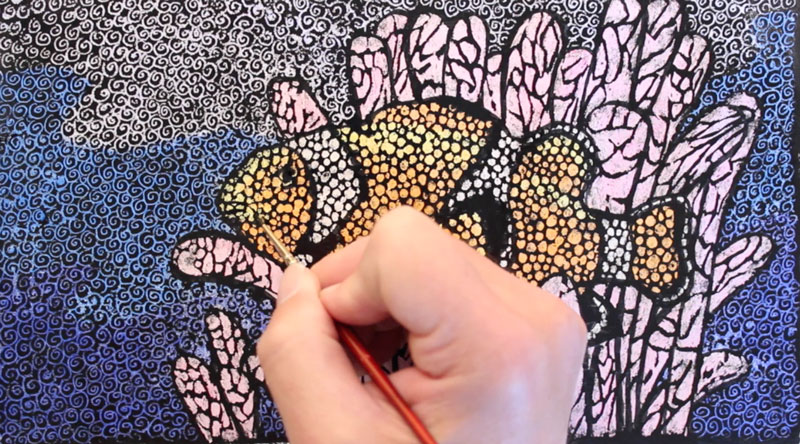
When the surface is dry, use a scratchboard tool, nail, or wooden skewers to scratch patterns into the inked surface. The ink will scratch off easily revealing the color underneath. Be sure to make large patterns so that a lot of the color underneath will show through.
You may notice that some of the ink will scratch off that you did not intend to remove. You can always go back and apply additional applications of ink. Be advised that it will be harder to scratch off the second time.
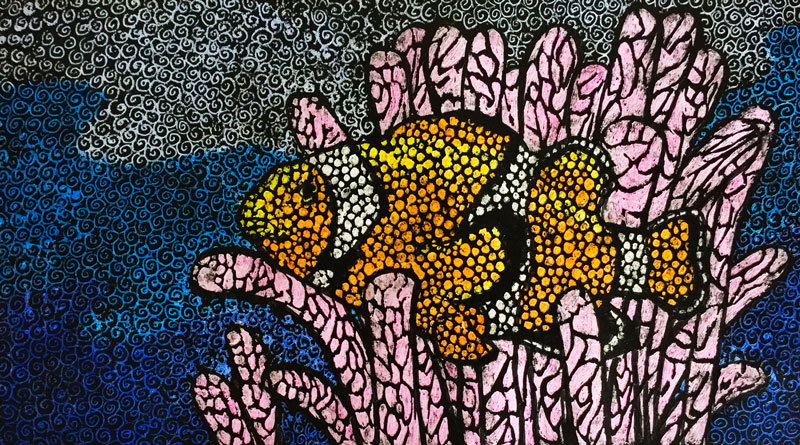
When complete, you can apply clear acrylic over the work to protect it or add a shiny finish.
If ink is not available or not feasible for you to use, you can still get good results from a crayon etching using tempera paint in place of ink. The tempera paint will dry to a dull matte surface. (The ink dries to a shiny finish).
Personally, I like the finish of the ink but you may prefer the matte finish. One thing I have noticed about the tempera finish is that when it is scratched off, it will sometimes flake and not give you precise lines. Tempera paint may be less expensive as well. Be sure that you use actual tempera paint as opposed to "poster paint" which will not be thick enough to cover the ink completely.
No ink or tempera paint? Then your last, and I mean last, resort is to use a black crayon to cover your artwork. This method, however, may be your best option if you are working with small children.